Nessus On Windows
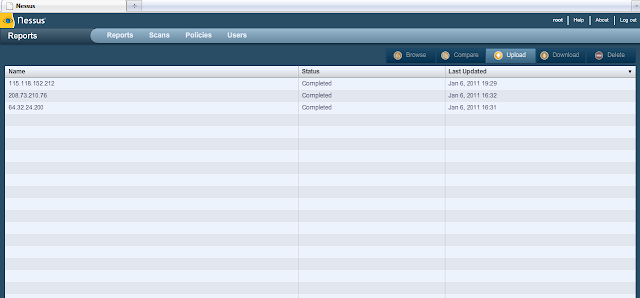
Nessus is one of the well known and most used vulnerability scanner program. Nessus was built for UNIX platform but now also supports Windows platform. Nessus runs as client server program and available as free and professional version. Download and register your e-mail with them and they will send you information about how to register and use it. Once installation is done you will have two icons one with name Nessus Server another withNessus Client first of all open Nessus Server and add users in it. Then open Nessus Clientand log in, after log in you will see interface as follows,
 |
| Please Open Images In New Tab |
First of all you will have to define some scan policy to scan target system. For that click on “Policies” then “Add Policy”. Its not difficult to understand how to define general section in policy but if you don't know much about different OS and networking I would better suggest let other options to their defaults.
Next step is to add scan, click on “Scan” and then “Add Scan”, type IP address you want to scan else you can also insert a text file with IP addresses of targets but for now just scan your own computer. Once you press “Launch” button your scan will begin. After scan is complete have your look on vulnerabilities found in target system.
For now don't bother about how to exploit vulnerabilities for hacking purpose that we will cover in “Enumeration” and “Gaining Access/System Hacking” phase. As an honest advice I would recommend you not to limit your self to this tutorial and find more tutorials onwww.YouTube.com . Thanks for reading and keep visiting.


No comments:
Post a Comment